-40%
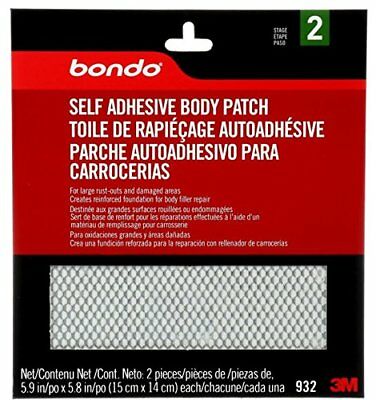
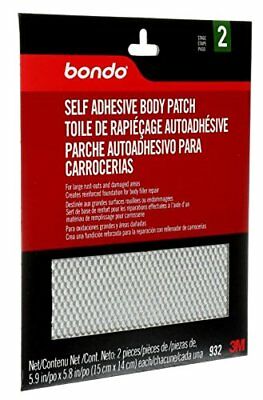
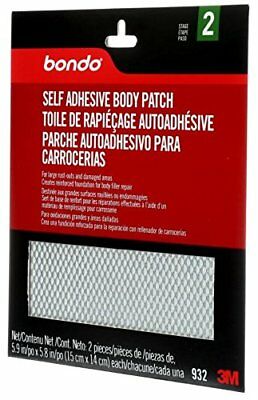
Bondo 932 Self Adhesive Body Patch
$ 3.95
- Description
- Size Guide
Description
Bondo 932 Self Adhesive Body PatchReinforced mesh provides supportive backing to fill holes
Patch material may be cut, folded and shaped for most contours
Use with Bondo® Body Filler and fiberglass resins
Self-adhesive holds body patch in place
Rust-resistant properties create a lasting repair
Use during the Fill stage of the 3M™ Body Repair System
Bondo® Self Adhesive Body Patch provides a firm, metal reinforced contour foundation for Bondo® Body Filler and Fiberglass Resins when applied directly over the patched area.
Reinforced Auto Body Repairs
When damage or rust is extensive, Bondo® Self Adhesive Body Patch provides a sturdy reinforced foundation on which you can apply Bondo® Body Filler and fiberglass resins. The metal mesh creates a base to provide additional support where needed. The mesh patch comes with a two-sided self-adhesive tape that sticks to metal, fiberglass and other surfaces.
Shapes to the Contour of Your Vehicle
Bondo® Self Adhesive Body Patch makes it easy to repair rusted out areas because it can be shaped to any contour on your car, truck or van. The mesh can be positioned so that it lays level with the contour of the repair area. Our automotive body patch may be cut to customized sizes with a scissors or tin snip.
A Sturdy Lasting Repair
Using our body patch creates a sturdy repair that will not rust. The body patch is advised for vehicles that are mechanically sound but are showing signs of rust and corrosion. Fixing the body with this material helps restore the appearance of the vehicle and potentially extend its service life.
Use During the Fill Stage of the 3M™ Body Repair System
Even a small repair can seem complex at first. So 3M's Body Repair System simplifies the entire automotive body repair process by dividing it into four stages:
Stage 1 — Prepare.
This stage includes pulling dents, removal of paint and rust and efficient, effective masking of the area.
Stage 2 — Fill.
This stage involves patching holes with reinforced filler and smoothing and shaping filler before painting.
Stage 3 — Paint.
This stage includes painting the area and blending and smoothing primer and paint.
Stage 4 — Finish.
The final stage for showroom-grade results: removing small defects, sealing and polishing clear coats and other painted surfaces.
